JAN 10 - Tips & Resources
OUR FURNITURE FLIPPING JOURNEY
To celebrate almost 1 year of furniture refinishing, we share a few key milestones throughout our journey.
Our first flip was a small free dresser from Kijiji. It needed A LOT of work, and looking back, it was a horrible choice for a beginner.
After doing some research, I jumped in and started messing around. This dresser got its name “Stubby” after I cut the legs short. At this point, I questioned all my decisions, but decided to go ahead with the priming, painting, and top-coating process. Surprisingly everything turned out well, and I still use this dresser to date!
Our First Flip - “Stubby”
The beautifully chaotic process of our first flip, Stubby
After completing Stubby, I decided to try my luck with refinishing and selling furniture for profit. I bought a dresser and nightstand set on Facebook Marketplace. They were constructed from particle board and laminate veneer, so I chose a shellac primer for better adhesion. The set was then painted in the same House & Canvas Sandstone paint and Varathane’s water-based topcoat.
To my surprise, the set of nightstands sold within 2 days on Marketplace for a whopping $350. This put me on a high for several days, and I saw the potential for a furniture flipping business. The dresser took 2 months to sell, but I blamed its larger proportions.
Our First Sale - The Beginnings of a Side Hustle
Before and after of a painted MCM bedroom set
Our First Restoration - Mid Century Modern Walnut Dresser
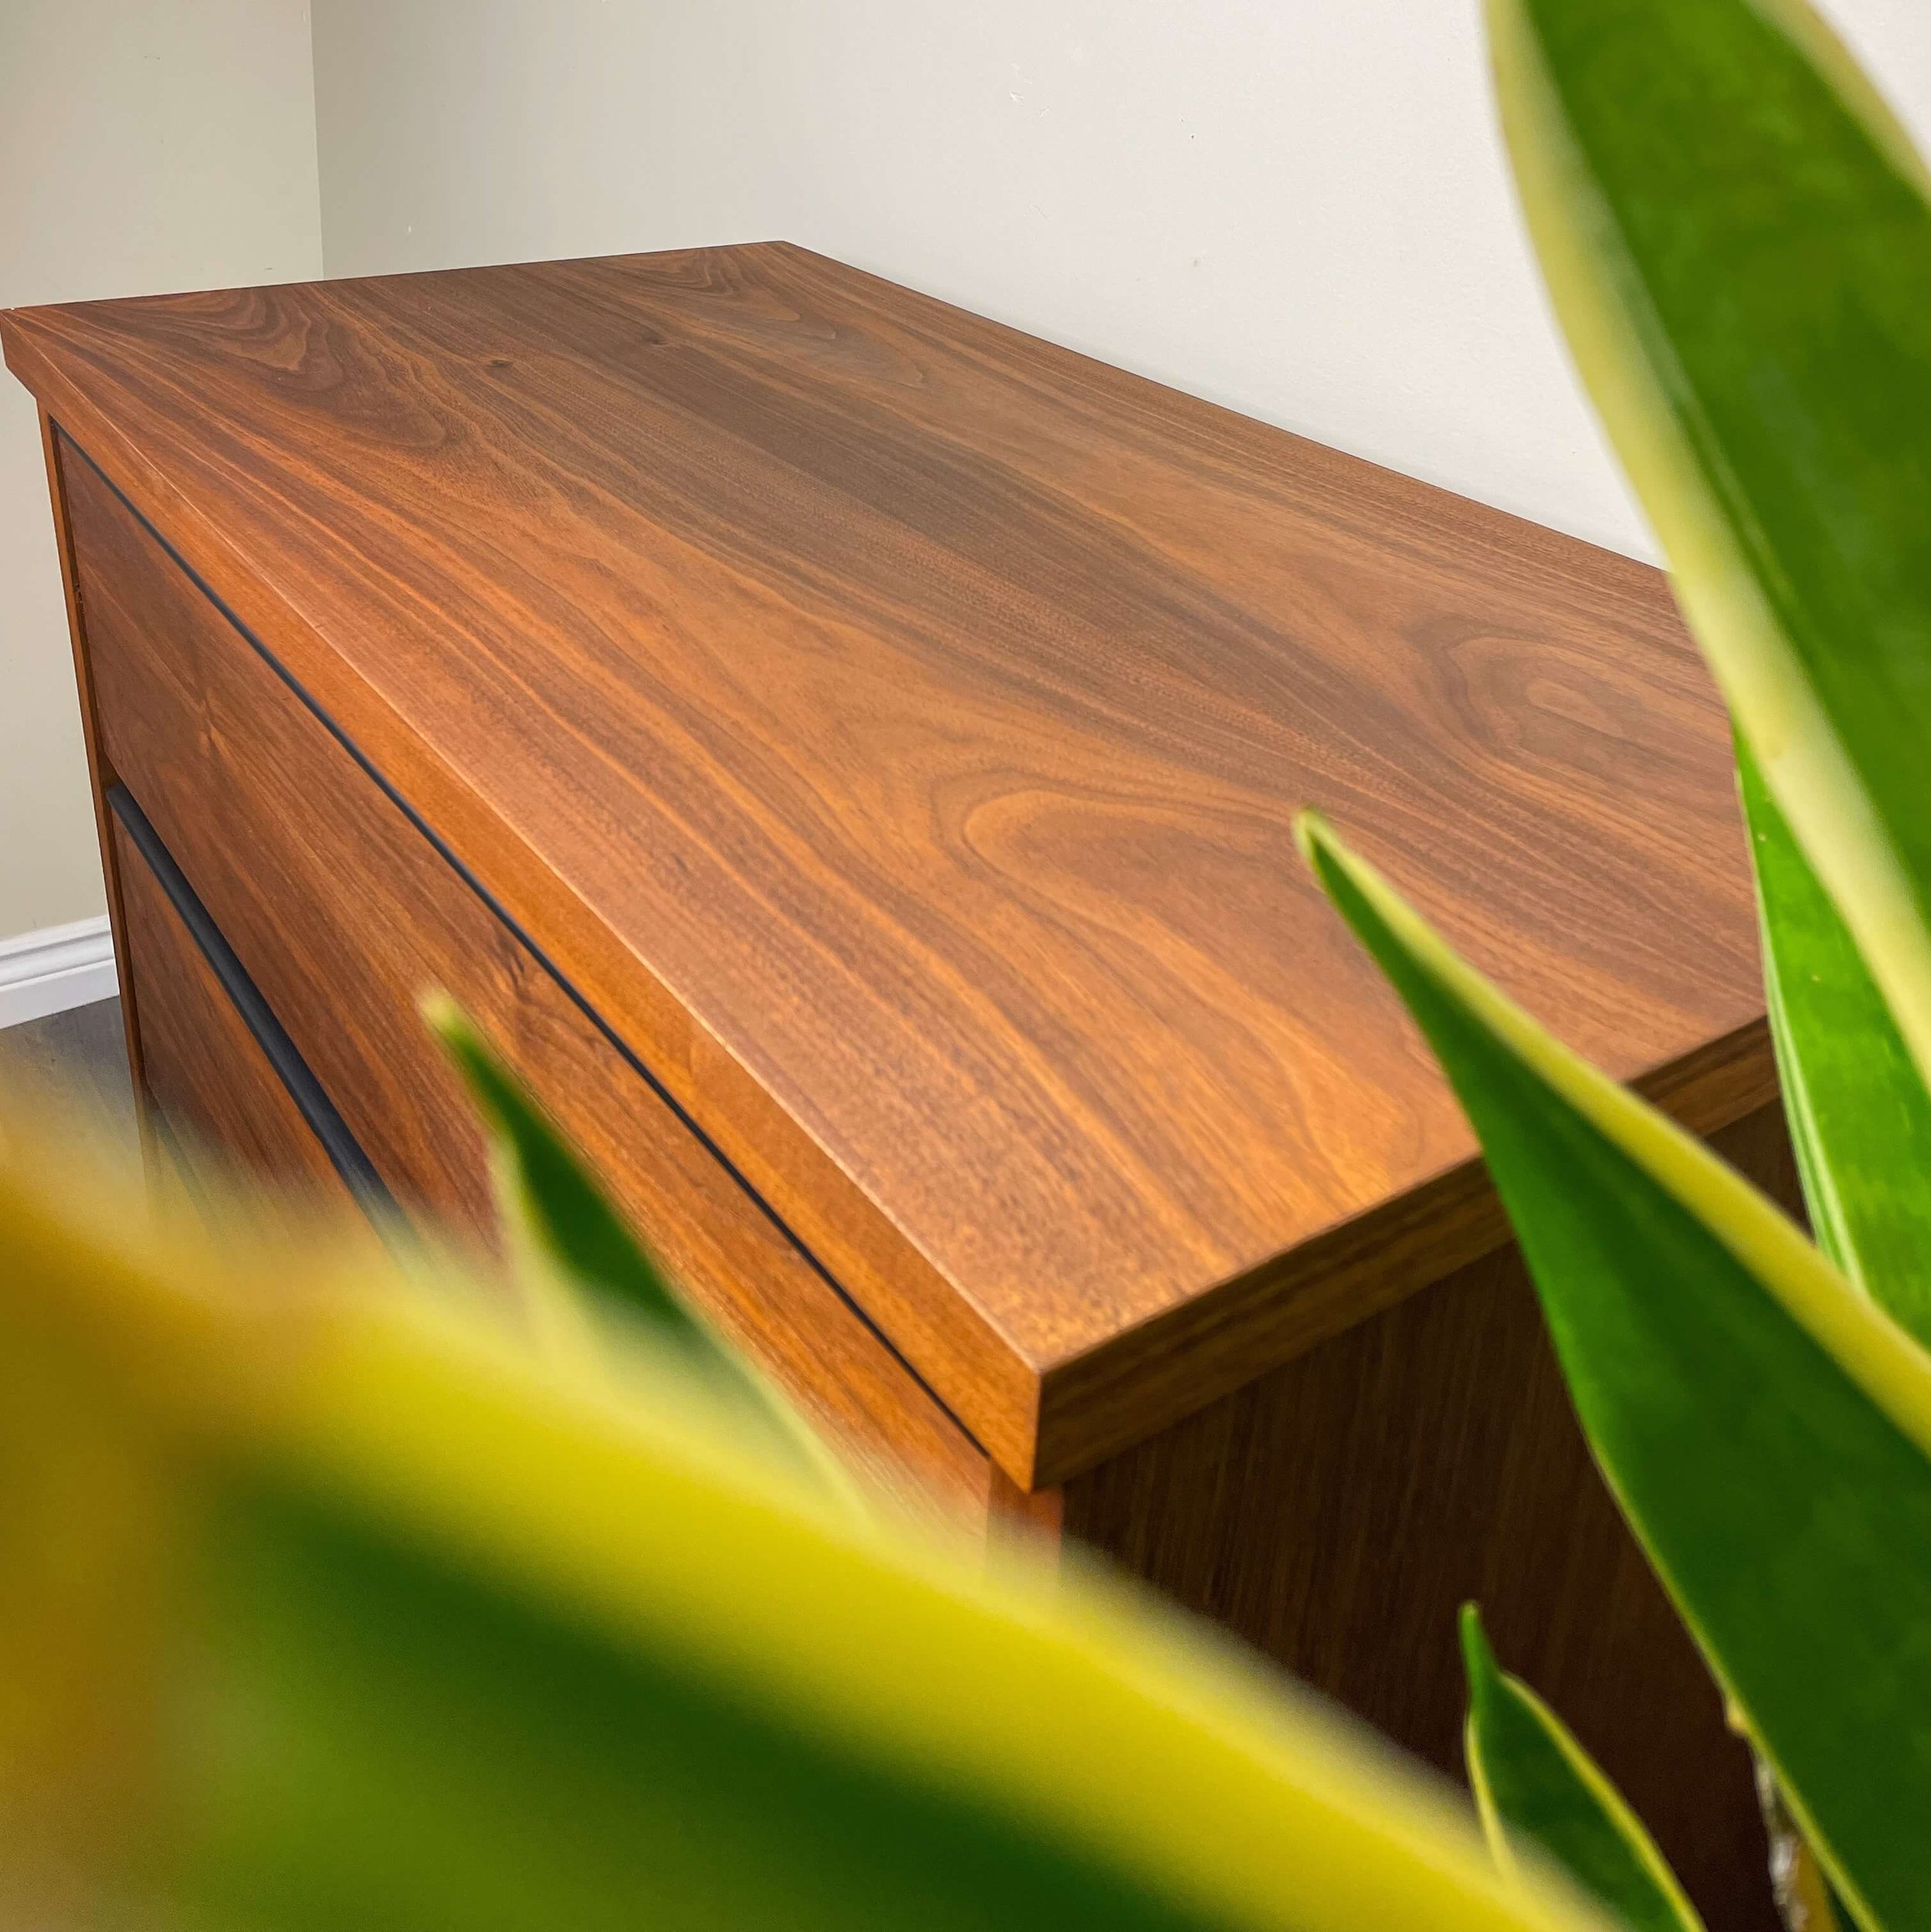
I’ve been wanting to do a restoration project for a while, and finally got my hands on an MCM walnut veneer dresser from a Maxsold auction. After hours of careful sanding, the piece was then sealed with Odie’s Oil to highlight the gorgeous wood, creating one of my favourite restorations to date.
Restoration of a mid century modern walnut dresser
This piece was created as part of the Furniture Flip Challenge from Makers Challenge Central. The theme was texture, and I wanted to try something I’ve never seen done before. Many flippers use wooden dowels, or pole wrap, but both options were out of budget. After scratching my head for a while, I stumbled across textured wall panels from Home Depot. Using a combination of contact cement and Bondo, I securely glued the panels onto the drawer fronts. My submission didn’t win the challenge, but I had loads of fun.
Our First Textured Piece
Wavy textured set of nightstands - Furniture Flip Challenge Season 4
More cool projects! I’ve learned so much since starting this journey 1 year ago, and I still have so much more to learn. My goal in 2023 is to gain more upholstery, woodworking, and design skills and further push the boundaries of furniture flipping.
And to whomever is reading this, never stop believing in yourself and “just do it!” Happy new year everyone!


